The Critical Connection: Seal Face Flatness and Surface Finish

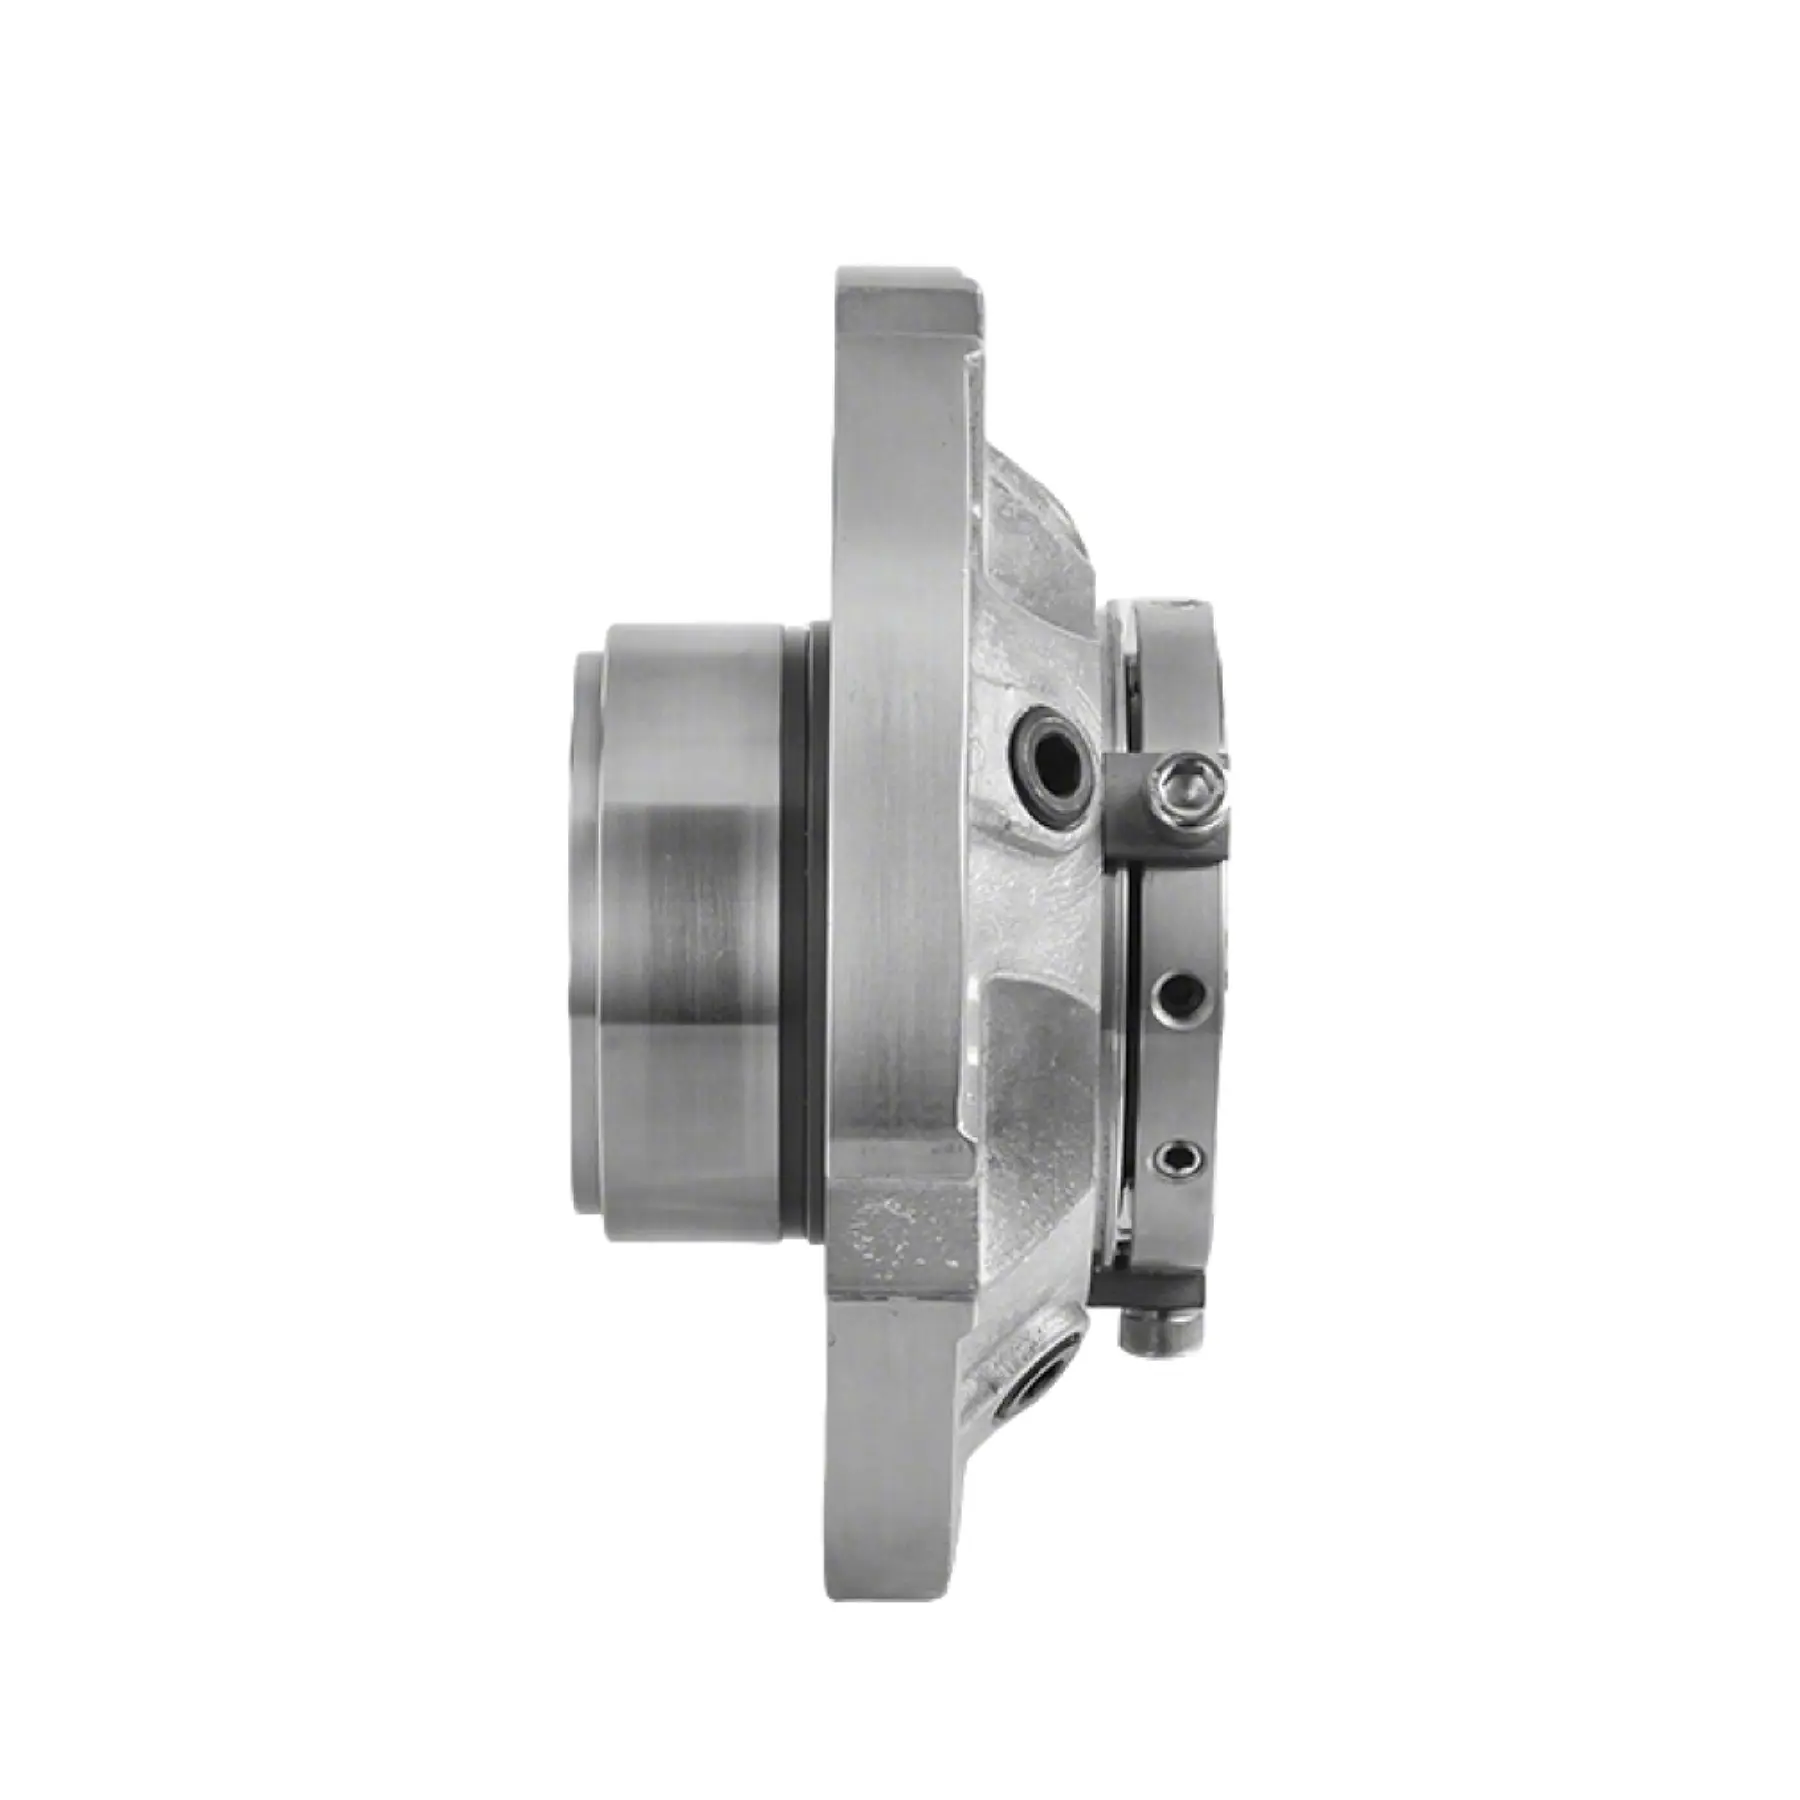
Mechanical seal performance relies heavily on unseen factors. Mechanical seal face flatness and surface finish are crucial. These parameters directly determine sealing integrity, operational lifespan, and overall reliability. Meticulous control of these two factors is paramount for a high quality mechanical seal in modern industrial applications.
Key Takeaways
- Mechanical seal performance depends on face flatness and surface finish. These factors stop leaks and make seals last longer.
- Good flatness and a smooth surface reduce friction. This saves energy and prevents early seal failure.
- New materials and smart monitoring improve seal faces. This helps seals work better and last longer.
Understanding Mechanical Seal Face Fundamentals
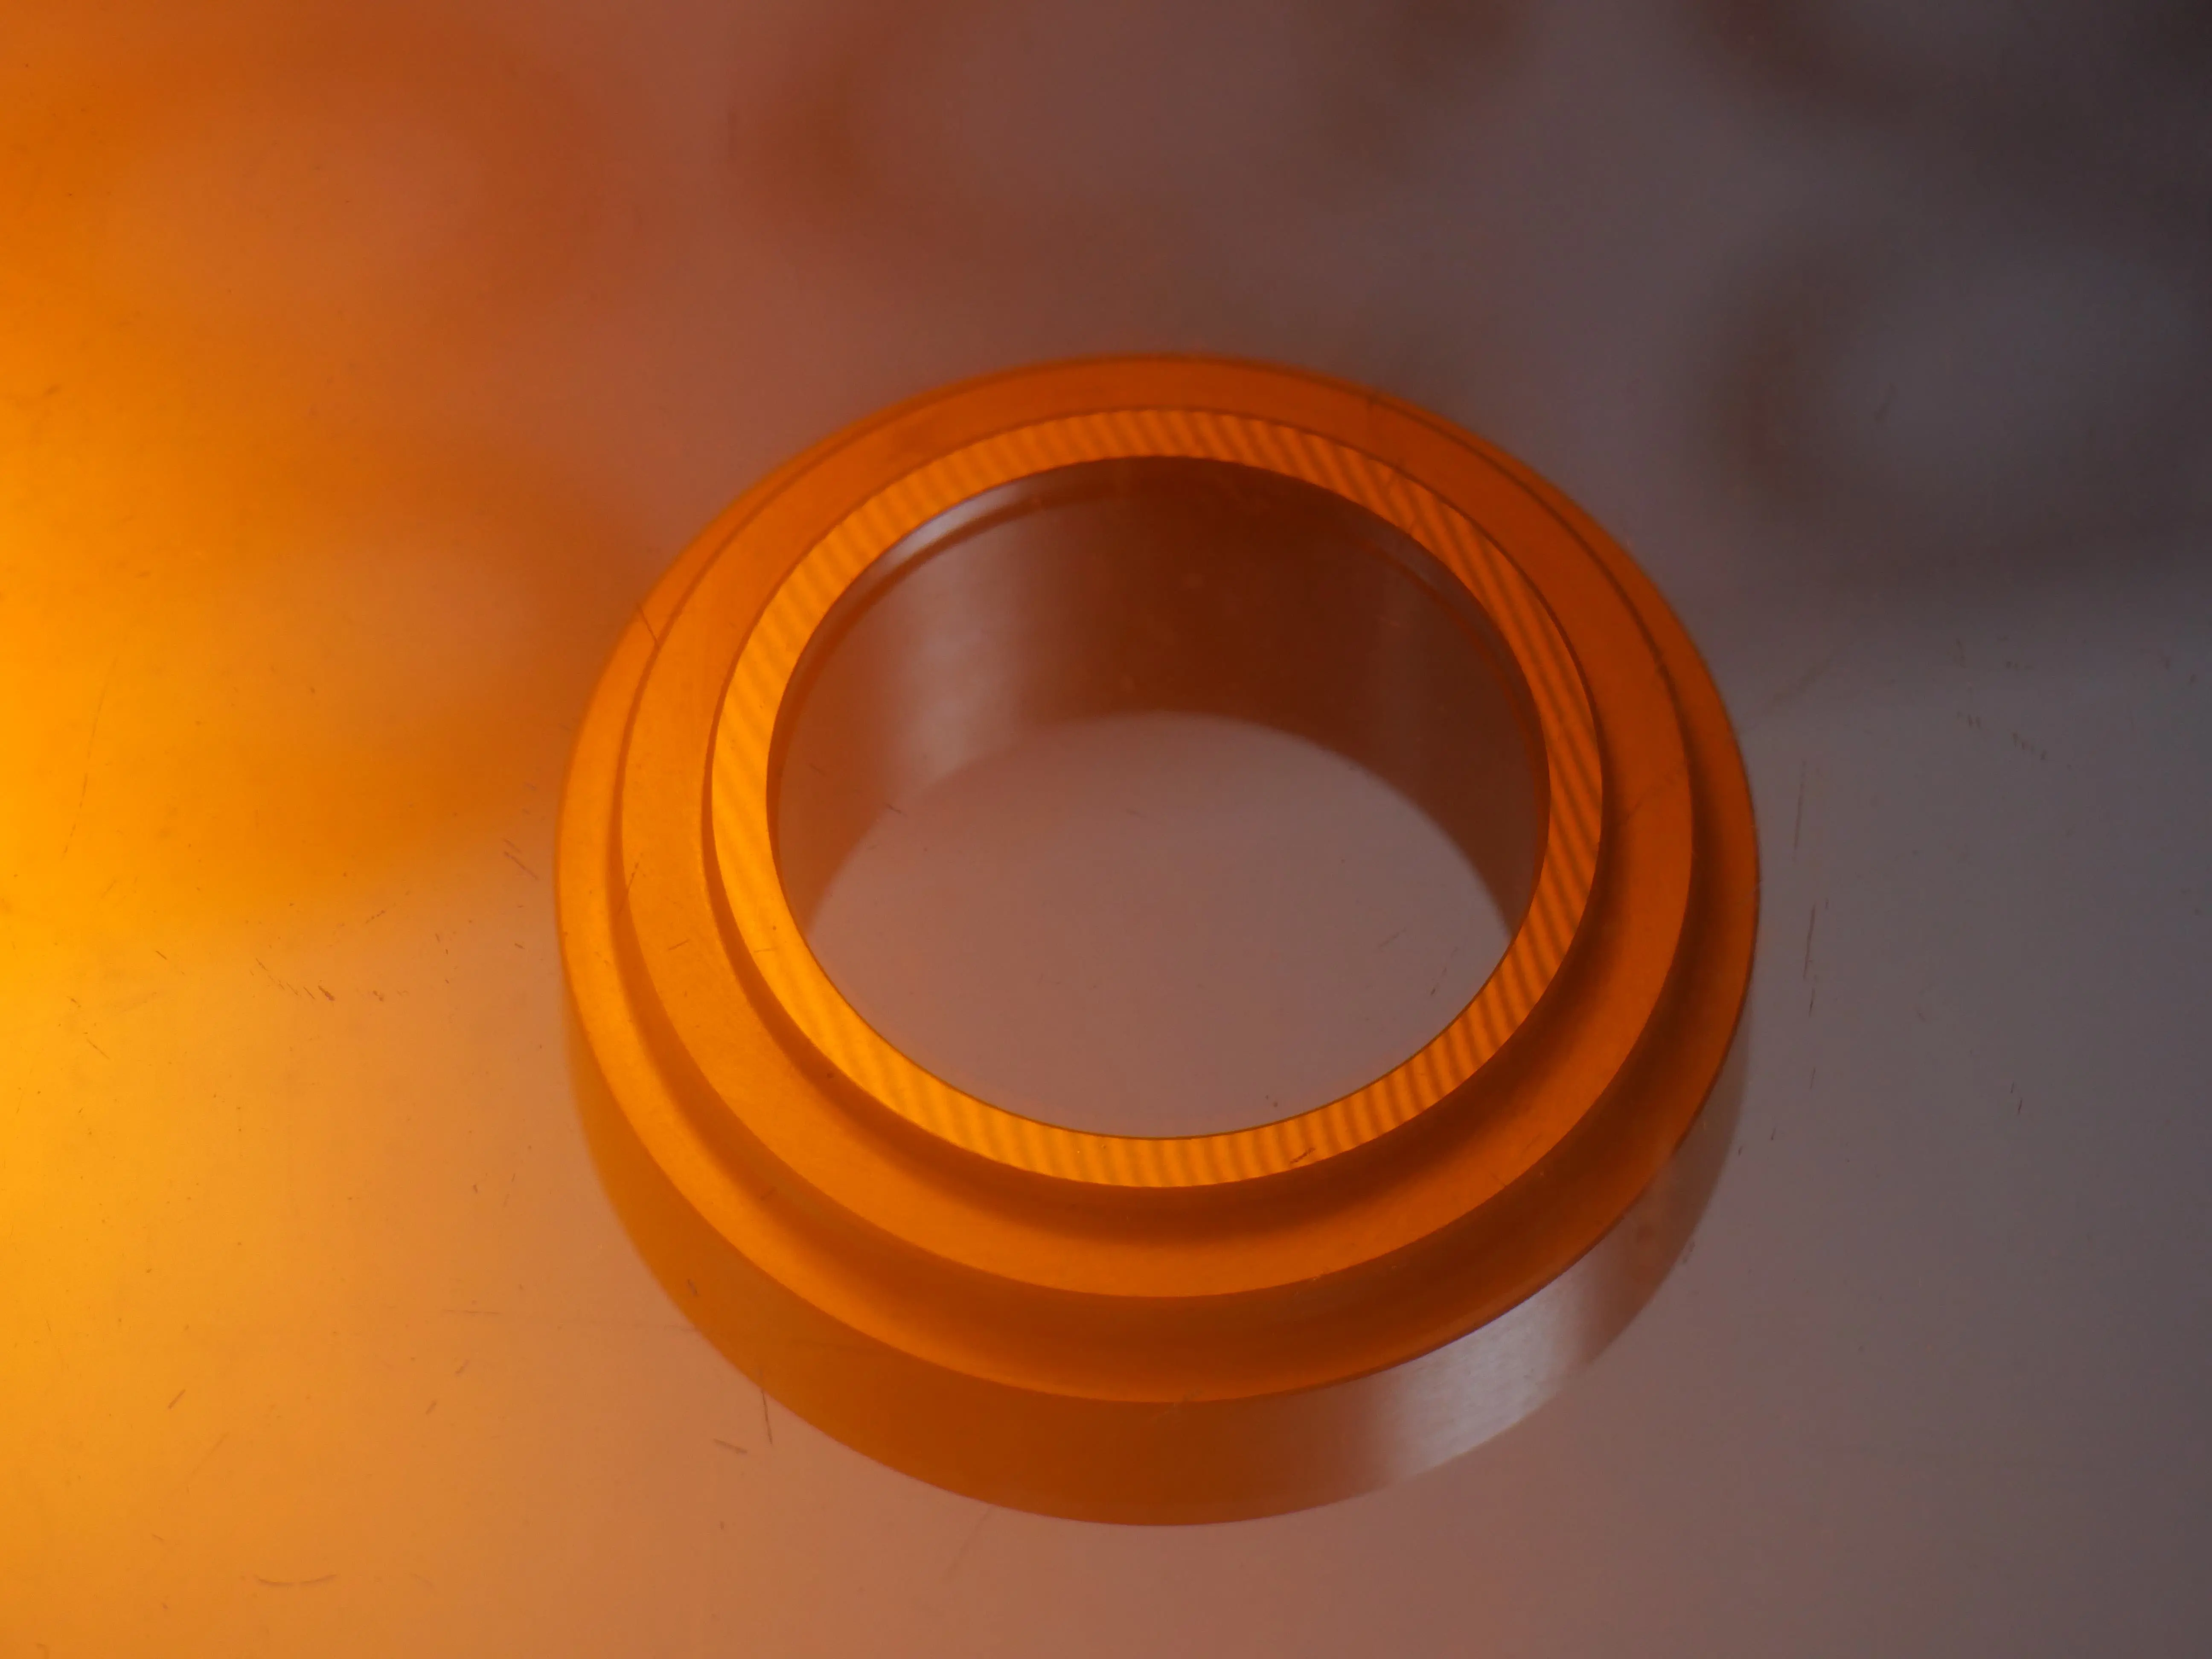
Defining Mechanical Seal Face Flatness
Flatness refers to the degree of evenness and smoothness of a mechanical seal face surface. An ideal seal face is perfectly level, without irregularities. However, manufacturing and material properties always introduce some deviation. Manufacturers quantify flatness using units of length such as micrometers (μm) or helium light bands (HLB). The flatness value indicates the maximum deviation from a perfectly flat reference plane. For instance, 2 μm flatness means the highest point is 2 μm above the lowest point on the surface.
Defining Mechanical Seal Face Surface Finish (Roughness)
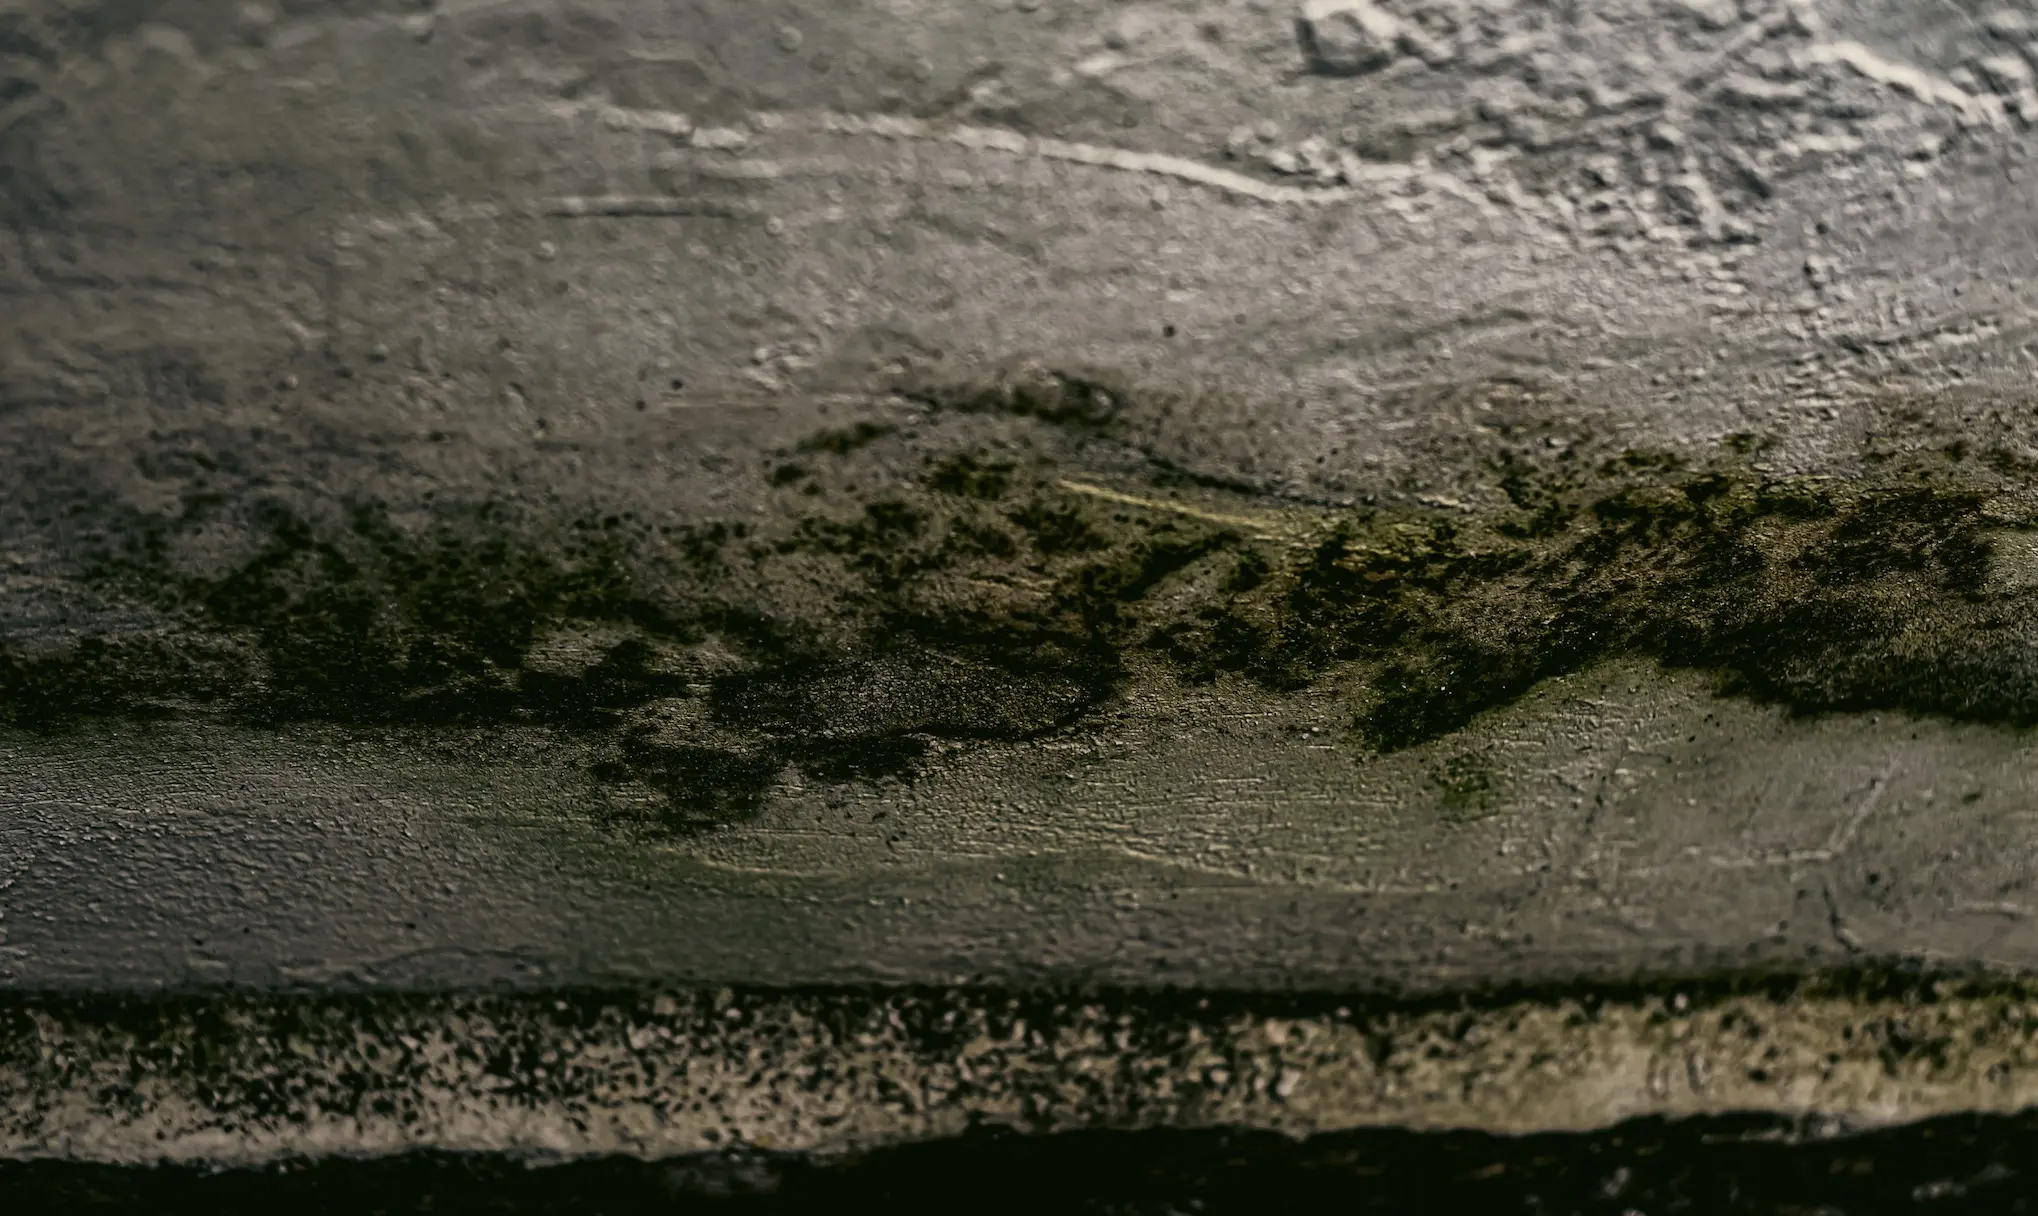
Surface finish, also known as surface texture, describes a surface's texture. It comprises three distinct elements: roughness, lay, and waviness. Roughness refers to small irregularities in surface geometry. Lay describes the dominant pattern and its orientation on a surface. Waviness refers to broadly spaced surface finish variations, larger than roughness but smaller than flatness defects.
The most frequently specified roughness parameters are Ra (average roughness) and Rz (mean roughness depth). Ra is the average variation of the roughness profile from the mean line. Rz is the average of five total roughness (Rt) values. Rt is the height difference between the highest and lowest points in each of five equal sections. The standard unit for roughness measurement in the United States is micro-inches (µin). The corresponding international (SI) unit is micrometers (µm). One micrometer is equivalent to 39.37 micro-inches.
| Parameter | Unit | Typical Range | Application |
|---|---|---|---|
| Ra | µin/µm | 8–500 µin (0.2–12.5 µm) | General machining, moderate precision |
| Rz | µm | 2–100 µm | Fine finishing, precision surfaces |
| Ry | µm | 10–300 µm | Critical parts, sealing surfaces |
| Rt | µm | 5–300 µm | Functional surfaces with high roughness |
| Rmax | µm | 10–500 µm | Peak-to-valley measurement for key tolerances |
Why These Mechanical Seal Face Parameters Are Critical
Mechanical seal face flatness is crucial for sealing integrity. Elevated temperatures cause thermal distortion. This leads to a loss of flatness in the seal faces. This compromise creates gaps, allowing fluid to escape and directly increasing leakage rates. Maintaining flatness is essential for effective sealing. Mechanical seals operate on the principle of utilizing two extremely flat surfaces, typically within 2-3 light bands of flatness. One surface rotates with the shaft, while the other remains stationary. This design relies on maintaining a very thin fluid film between these precisely machined surfaces. When properly installed and maintained, this precise flatness makes leakage virtually impossible, beyond minimal vapor emissions. This directly demonstrates the critical role of face flatness in preventing leakage and ensuring sealing integrity.
Direct Impact on Mechanical Seal Performance in 2025
Preventing Leakage Through Optimal Mechanical Seal Face Conditions
Optimal mechanical seal face conditions directly prevent leakage. A perfectly flat seal face creates a uniform contact area. This uniform contact minimizes gaps where process fluid could escape. The precise flatness ensures the formation of a stable, thin fluid film between the rotating and stationary faces. This fluid film lubricates the surfaces and carries away heat. It also acts as a primary barrier against leakage. Any deviation from optimal flatness compromises this film, leading to increased leakage rates. A superior surface finish further supports the fluid film's integrity. It reduces the potential for microscopic channels that allow fluid bypass.
Enhancing Wear Resistance and Longevity of Mechanical Seal Faces
Proper flatness and surface finish significantly enhance wear resistance and extend the lifespan of mechanical seals. Smooth, flat surfaces reduce friction between the mating faces. Less friction means less heat generation and less material removal. This directly translates to longer operational life for the seal.
For optimal performance, specific surface finish parameters are crucial:
| Seal Type | Recommended Ra (microinches) |
|---|---|
| Dynamic Seals | 8 to 12 |
| Static Seals | 16 to 32 |
A varied hardware surface is crucial for dynamic seals. This surface traps process media or lubricating fluid. This action reduces friction and extends seal life. However, an excessively rough surface can abrade the sealing element. The key is to achieve a balance. This balance allows for lubrication without causing wear.
Improving Energy Efficiency with Superior Mechanical Seal Face Finishes
Superior mechanical seal face finishes contribute significantly to energy efficiency. Smoother surfaces reduce the coefficient of friction between the seal faces. This reduction means the equipment requires less power to rotate the shaft. Lower power consumption directly translates to energy savings.
Advanced materials like silicon carbide, tungsten carbide, and specialized carbon compositions can decrease friction coefficients by 30-50% compared to traditional materials. This reduction leads to immediately measurable energy savings. Premium mechanical seal components, utilizing advanced materials and precision manufacturing, result in lower friction coefficients. This directly reduces the power requirements for rotating equipment, thereby contributing to energy conservation.
Interaction of Mechanical Seal Face Flatness and Finish with Advanced Materials and Coatings
Mechanical seal face flatness and finish interact critically with advanced materials and coatings. This interaction improves overall performance. Mechanical seals operate by pressing two extremely flat (lapped) surfaces together. One surface rotates and one remains stationary. This creates a precise sealing interface. Primary seal faces typically use materials like carbon, ceramic, silicon carbide, or tungsten carbide. Manufacturers lap these materials to extreme flatness.
Specialty fillers, such as antimony impregnation and engineered resins, can enhance performance. Surface treatments like diamond coatings also improve seal faces. Recent advancements in chemical vapor deposition (CVD) diamond coatings have improved their surface adhesion. They also offer long-term dry running capabilities. This allows application to monolithic seal faces.
Diamond-enhanced silicon carbide (SiC) seal faces significantly boost reliability and mean time between repairs (MTBR). Diamond's exceptional mechanical, thermal, and chemical properties reduce frictional heat. This enables seals to endure poorly lubricated or dry-running conditions for extended periods. The manufacturing process for diamond-faced seals allows precise control over surface finishes. These finishes range from polished (<1 micro-inch Ra) to matte (10 micro-inches and above). Manufacturers meticulously preserve the original flatness of the silicon carbide ring. Deviations remain well below 2 light-bands. This combination of controlled finish, maintained flatness, and superior adhesion is crucial. It enhances performance in demanding tribological applications.
Achieving and Measuring Optimal Mechanical Seal Face Conditions
Advanced Measurement Techniques for Mechanical Seal Face Flatness and Finish
Achieving optimal mechanical seal face conditions requires precise measurement. Laser flatness gauges accurately measure the flatness of the seal face. These instruments take measurements at multiple points. This provides quick and reliable data. Visual inspections under a microscope also detect microscopic defects or irregularities. These flaws are often invisible to the naked eye. These advanced techniques ensure the seal faces meet stringent quality standards.
Precision Manufacturing Processes for Mechanical Seal Faces: Lapping and Polishing
Precision manufacturing processes like lapping and polishing create the necessary flatness and finish for mechanical seal faces. Lapping machines use a rotating table, or lapping plate, typically made of high-quality soft cast iron. Conditioning rings act as workholding devices. They distribute wear evenly across the lapping plate. A top plate presses the pieces down for abrasion. A slurry, made from abrasive materials like diamond or carbon combined with a liquid base, is fed between the lapping plate and the top plate. Tiny abrasives grind away micro-irregularities. This loose abrasive process (LAP) uses micron-sized abrasive particles. The workpiece is placed against the slurry on the rotating lap plate. Its surface modifies through the rolling/sliding action of abrasive grains. This process aims for a uniformly smooth and flat surface.
Industry Tolerances and Specifications for Mechanical Seal Face Quality
Industry standards define strict tolerances for mechanical seal face quality. Manufacturers can achieve a flatness target of less than 2 light bands (0.0006mm) through appropriate procedures. Machine lapping is particularly effective for this. These tight specifications ensure the seal performs reliably under demanding conditions.
The Role of Quality Control in Ensuring Mechanical Seal Face Integrity
Quality control plays a vital role in ensuring mechanical seal face integrity. Incoming inspection verifies all seal components meet specifications. Assembly verification checks critical dimensions during installation. Performance testing conducts operational tests before final commissioning. Training programs ensure personnel understand proper procedures. Pre-installation inspection verifies all dimensions and surface finishes. Cleanliness is critical; all parts, tools, and the work area must be spotless. Improper installation and assembly procedures significantly impact seal effectiveness. Even minor misalignment during installation can lead to excessive friction and premature wear. Adhering to manufacturer guidelines and using correct tools prevents avoidable failures.
Consequences of Suboptimal Mechanical Seal Face Flatness and Finish
Suboptimal mechanical seal face flatness and finish lead to significant negative consequences. These issues impact operational efficiency, environmental compliance, and safety. Ignoring these critical parameters results in costly failures and operational disruptions.
Increased Leakage Risks and Environmental Impact
Poor flatness and surface finish directly increase leakage risks. Gaps form between the sealing surfaces, allowing process fluids to escape. This leads to fugitive emissions. Various national and international organizations, including the U.S. Environmental Protection Agency (EPA), the European Union (EU), the American Petroleum Institute (API), and the International Organization for Standardization (ISO), regulate these emissions. The EPA imposes Leak Detection and Repair (LDAR) regulations to control volatile organic compound (VOC) emissions. Businesses must adhere to these standards to avoid substantial economic liabilities. These "invisible costs" include penalties for environmental violations, loss of valuable resources, and diminished sales due to negative public perception.
Premature Mechanical Seal Failure and Downtime
Substandard flatness and finish cause premature mechanical seal failure. Increased friction and wear occur when surfaces are not perfectly mated. This accelerates material degradation. Industry studies estimate the cost of downtime due to mechanical seal failure can be 5–10 times greater than the cost of the failed seal itself. A $1,500 seal failure, for instance, could lead to $15,000 in lost production and repair costs. One chemical manufacturing plant achieved a yearly reduction in seal repair costs exceeding $30,000 by addressing premature seal failures. This also increased production capabilities.
Higher Maintenance Costs and Operational Inefficiencies
Premature failures directly translate to higher maintenance costs. The true cost of a mechanical seal failure is often 5 to 20 times higher than the cost of the seal itself. This includes labor, materials, and lost production. Frequent repairs and replacements disrupt operations, leading to significant operational inefficiencies. These costs extend beyond simple repair expenses, encompassing energy wastage and plant inefficiencies.
Environmental and Safety Hazards from Compromised Mechanical Seal Faces
Compromised mechanical seal faces pose serious environmental and safety hazards. Leaking seals in industrial equipment or pipelines cause environmental contamination. Seal failures in critical systems, such as those used in aerospace, automotive, or medical devices, can pose significant safety risks to personnel and the public. Failed seals lead to costly repairs and potential environmental hazards.
Future Trends and Innovations in Mechanical Seal Face Technology
The mechanical seal industry constantly evolves, driven by demands for greater efficiency, reliability, and environmental compliance. Future trends focus on advanced materials, smart monitoring, and artificial intelligence to push performance boundaries.
Advanced Materials and Composites for Enhanced Mechanical Seal Face Properties
Innovations in materials significantly enhance mechanical seal face properties. Carbon-graphite, for instance, receives enhancements with impregnations like resins, ceramics, and metals such as antimony or nickel. These additions improve chemical and physical properties, strength, and performance in light hydrocarbon services. Sintered or reaction-bonded silicon carbide offers extreme hardness, high wear resistance, and thermal shock resistance. Manufacturers often pair it with carbon rings or use dissimilar grades for high-viscosity applications. Tungsten carbide, cemented with ductile metals like nickel and cobalt, provides toughness and wear resistance, especially nickel-bound grades in midstream pipeline applications. Silicon carbide/graphite composites contain free graphite to reduce friction, improve dry run survivability, and enhance thermal shock resistance. Some grades feature non-interconnecting pores for hydrodynamic lubrication, offering exceptional PV characteristics in crude oil and light hydrocarbon services.
Smart Seals and Predictive Maintenance for Mechanical Seal Face Monitoring
Smart seals and predictive maintenance systems revolutionize mechanical seal face monitoring. Integrated IoT sensors provide real-time data on temperature, vibration, and wear. Temperature and pressure sensors detect fluctuations indicating wear or overheating. Vibration sensors identify misalignment or high vibration levels that often precede seal wear. Wear monitoring sensors detect changes in seal thickness or surface integrity, offering real-time insights. Machine learning and artificial intelligence analyze vast amounts of data. They recognize patterns signaling impending failure and identify specific issues like wear or material degradation. This allows for proactive maintenance and prevents unexpected downtime.
AI and Machine Learning in Optimizing Mechanical Seal Face Manufacturing
Artificial intelligence (AI) and machine learning play a crucial role in optimizing mechanical seal face manufacturing. AI enhances predictive capabilities, leading to reduced unplanned downtime and significant cost savings. The integration of AI and IoT helps meet stringent environmental and safety regulations. Smart sealing solutions, enabled by AI, facilitate the collection of operational data for continuous product improvement. AI-powered automation and Industry 4.0 trends transform the market by promoting intelligent, connected, and automated solutions. AI-driven design, manufacturing, and predictive analytics allow manufacturers to respond quickly to market demands. Digital twin technology creates virtual replicas of physical sealing systems. This enables real-time simulation, testing, and performance optimization, reducing R&D costs and accelerating product development.
In 2025, mechanical seal reliability and efficiency depend on meticulous control of mechanical seal face flatness and surface finish. Prioritizing these "unseen factors" maximizes operational uptime, minimizes costs, and ensures environmental compliance. Continuous innovation in materials, manufacturing, and monitoring elevates the importance of these critical parameters.
FAQ
What is the main difference between mechanical seal face flatness and surface finish?
Flatness measures the overall evenness of the seal face. Surface finish describes the microscopic texture, including roughness. Both are critical for effective sealing performance.
How do optimal seal face conditions prevent leakage?
Optimal flatness creates a uniform contact area. This forms a stable fluid film. A superior surface finish reduces microscopic channels. These conditions collectively prevent fluid escape.
Why are advanced materials important for mechanical seal faces?
Advanced materials like silicon carbide and diamond coatings enhance wear resistance. They reduce friction and improve thermal properties. This extends seal life and boosts reliability.
