


Mastering Mechanical Seal Replacement for Industrial Pumps
Proper mechanical seal replacement is essential for industrial pump reliability. Mechanical seals prevent fluid leakage, ensuring efficient system operation. This guide offers comprehensive Installation Instructions for Mechanical Seals, enabling technicians to skillfully handle components like GW SEAL to replace mechanical seal units for optimal pump performance.
Key Takeaways
- Proper mechanical seal replacement is important for industrial pumps. It stops fluid leaks and helps pumps work well.
- Safety is very important when working with pumps. Always follow rules like Lockout/Tagout to prevent accidents.
- Careful installation and regular checks make mechanical seals last longer. This helps pumps run better and avoids unexpected stops.
Preparing to Replace Mechanical Seal on Industrial Pumps
Essential Tools and Materials for Replacement
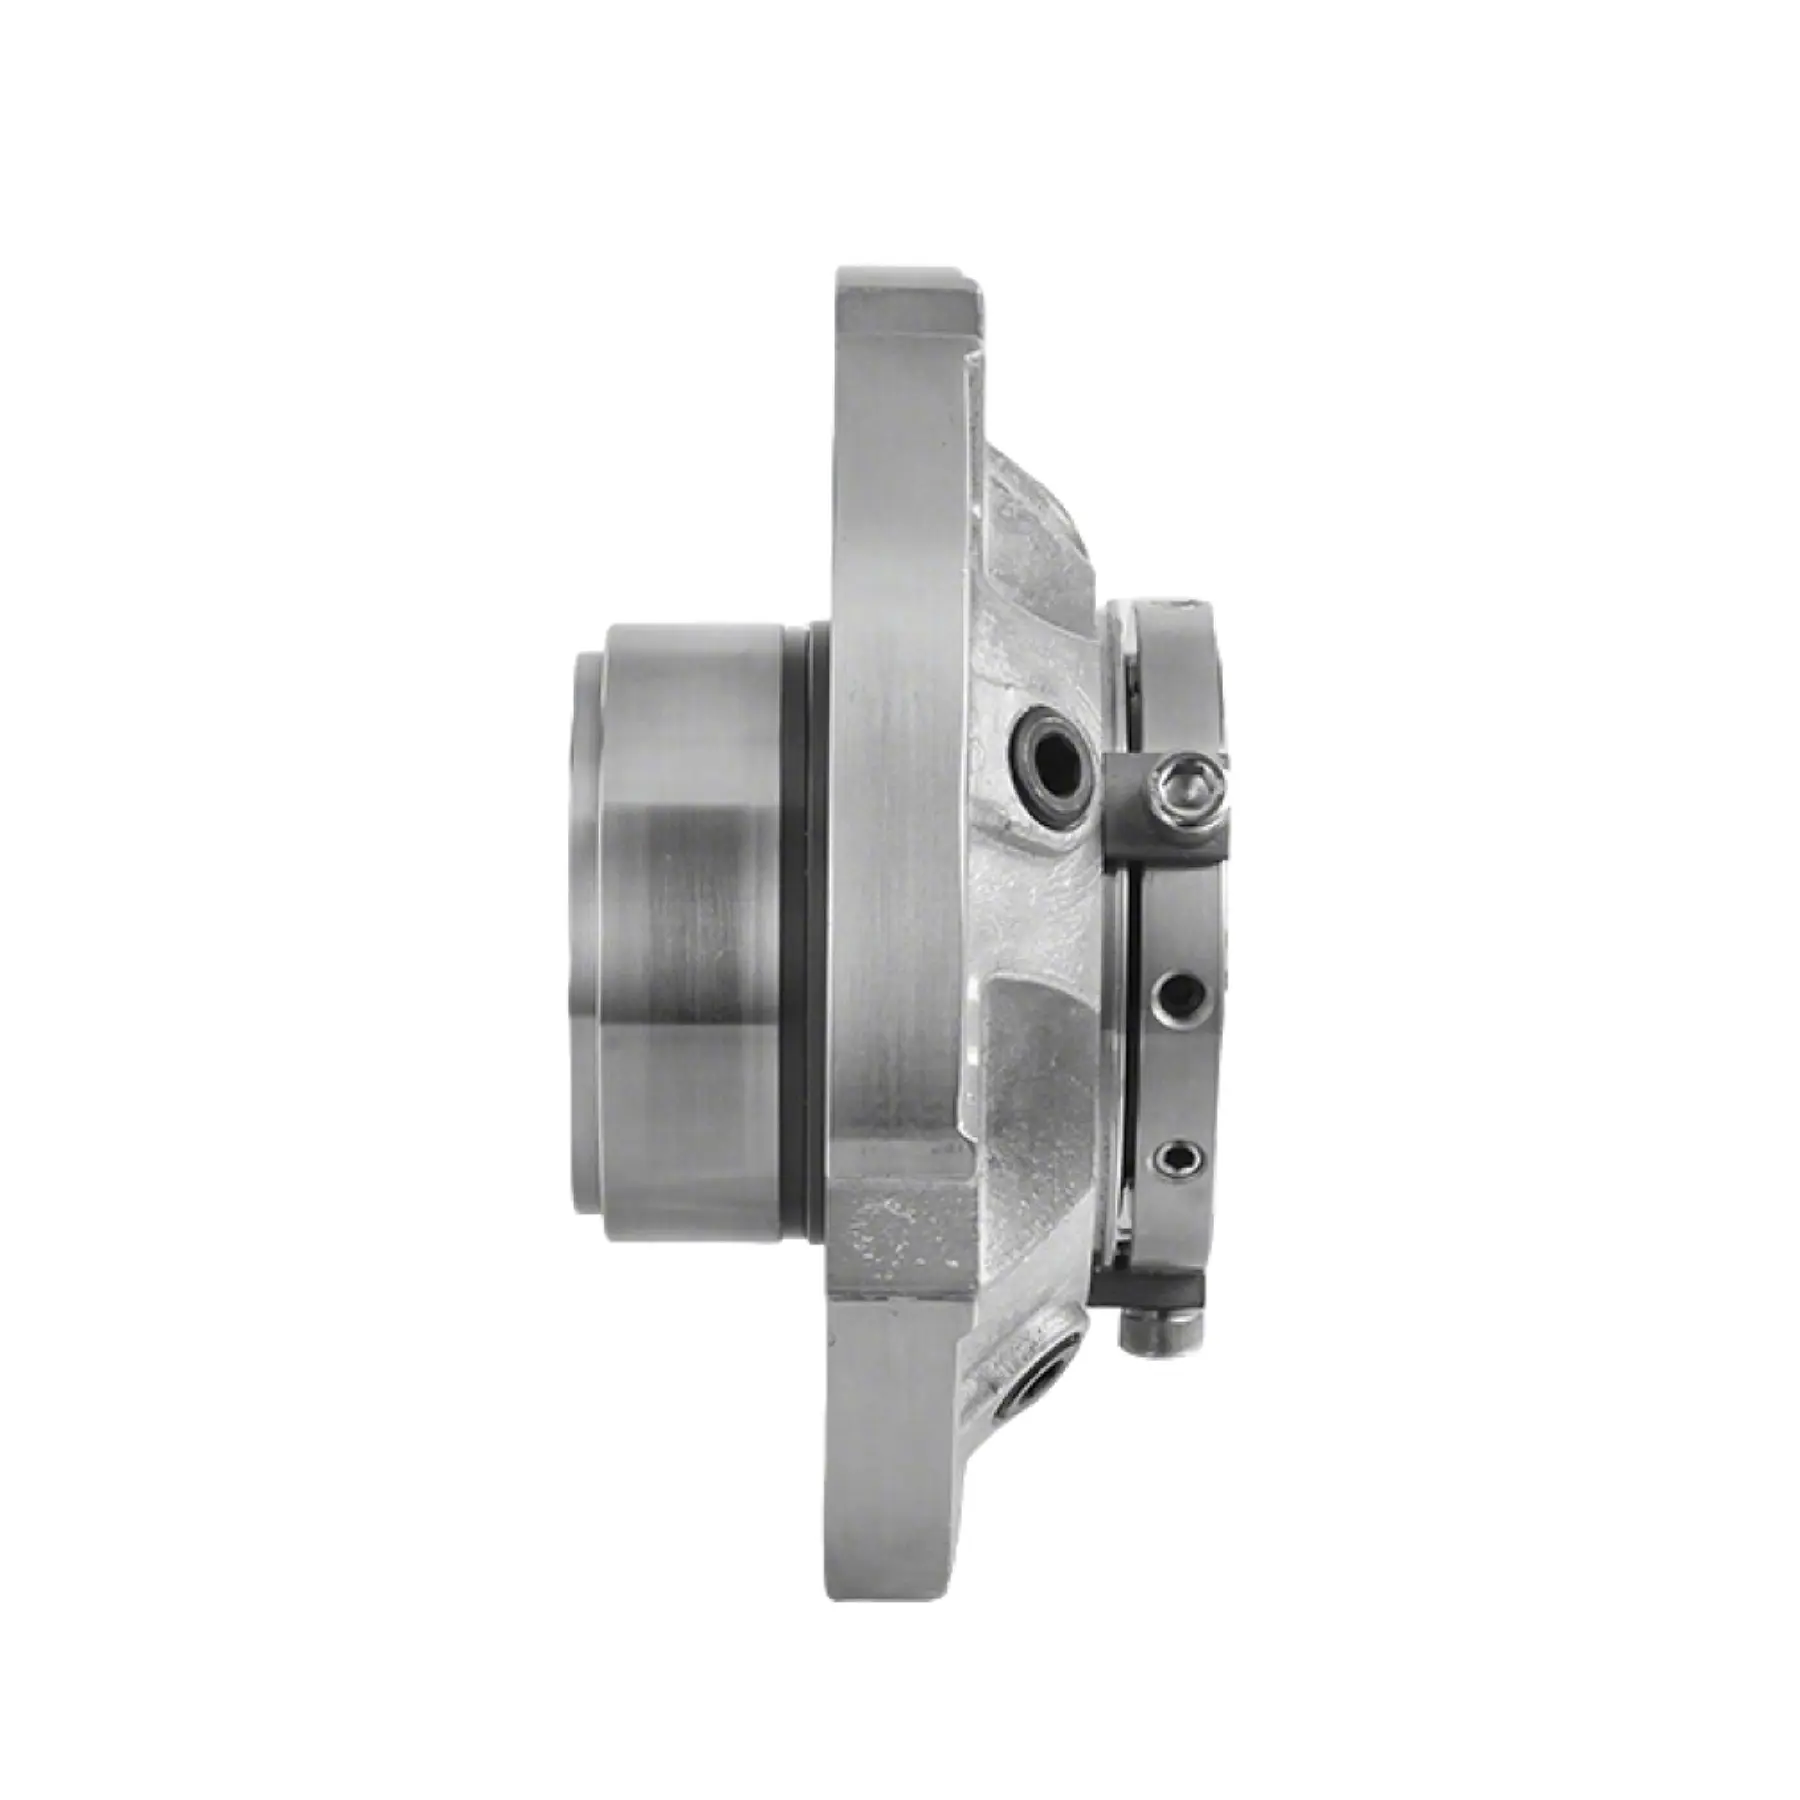
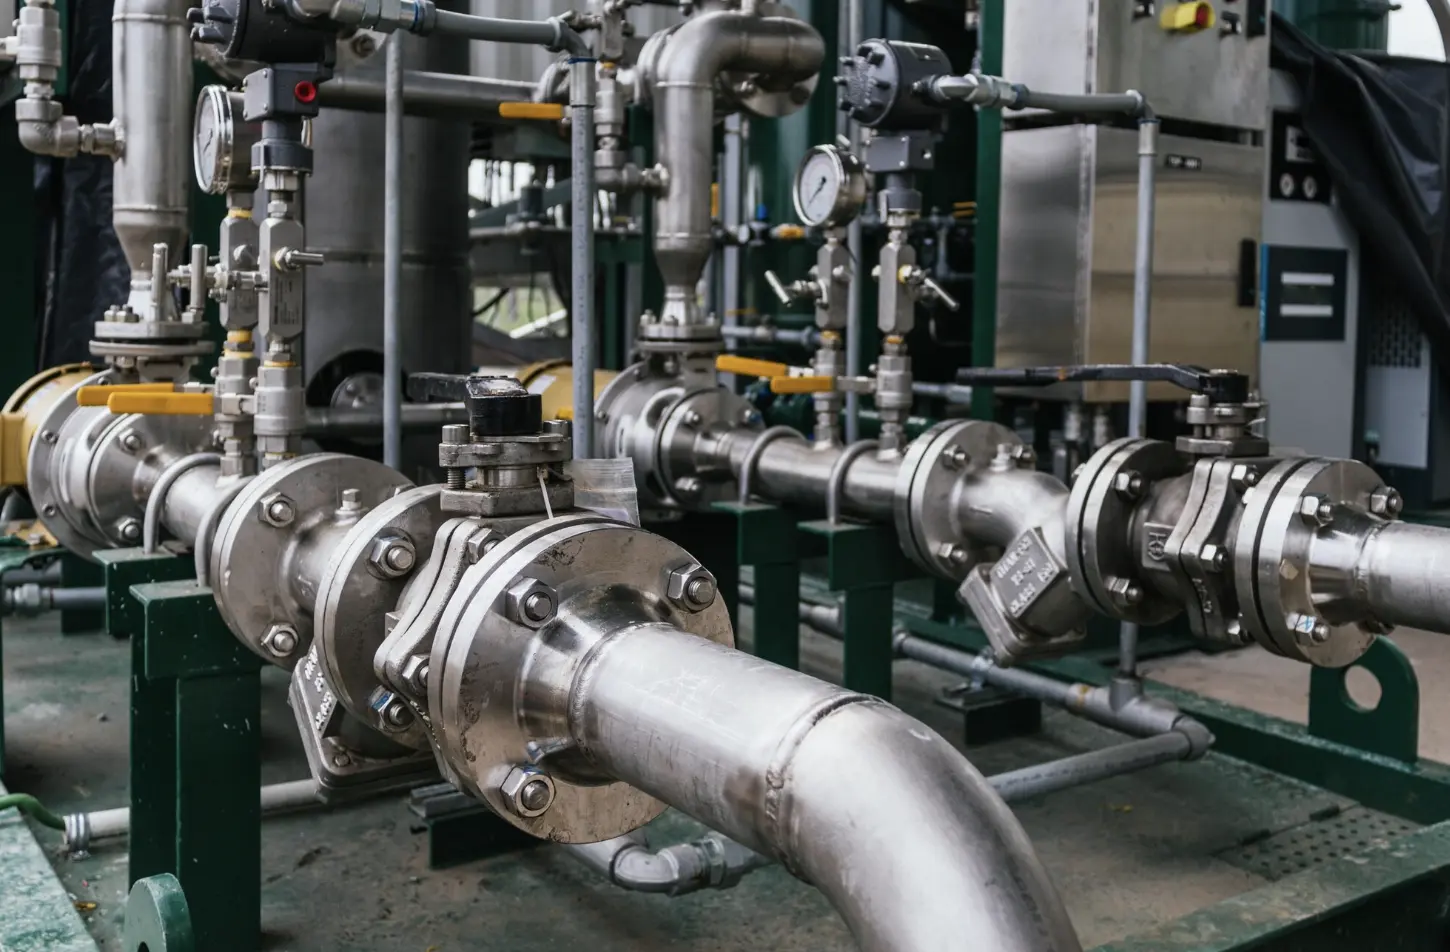
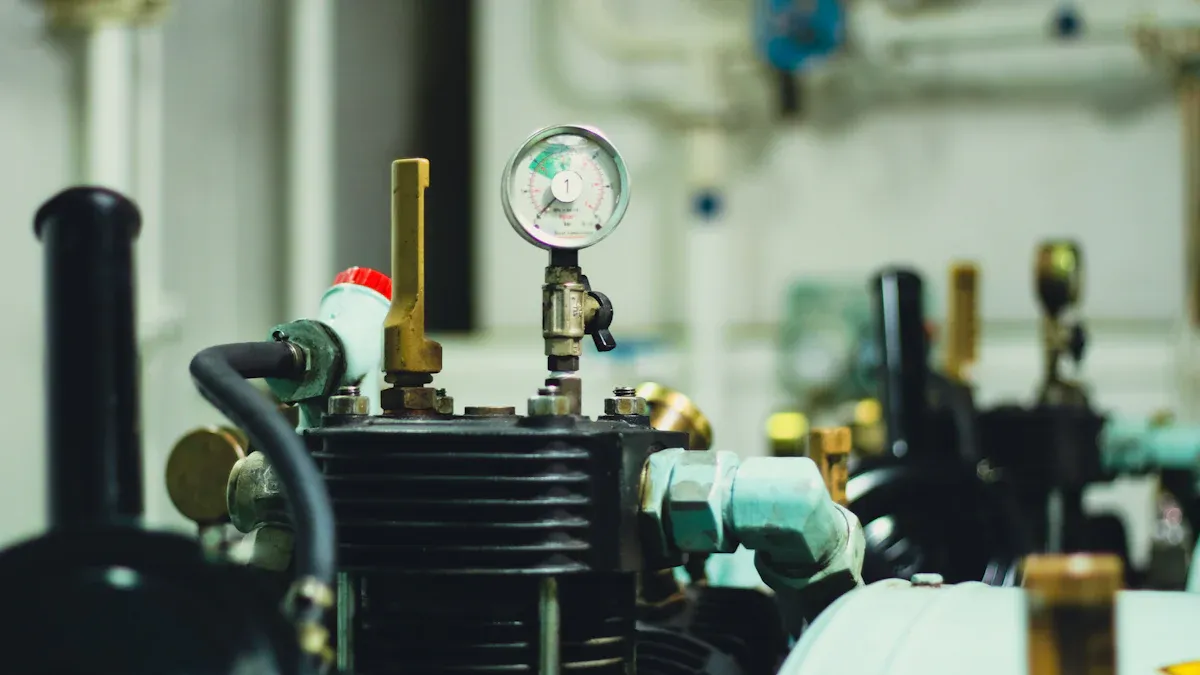
Successful mechanical seal replacement requires specific tools and materials. Technicians need seal pullers, often specific to the seal configuration, and calibrated torque wrenches. They also use dial indicators for measuring shaft runout and face flatness, along with precision measuring instruments like micrometers and feeler gauges. Soft-face hammers and brass drift pins assist with component removal and installation. Various sizes of screwdrivers and wrenches are also necessary. For cleaning, clean, lint-free rags and appropriate cleaning solvents are essential. Materials include the new mechanical seal itself, O-rings, gaskets, springs, elastomers, stationary and rotating faces, and hardware. Precision measuring tools like calipers and depth gauges, along with installation tools such as seal installation sleeves and shaft liners, complete the kit.
Prioritizing Safety Protocols
Safety is paramount when working with industrial pumps. OSHA's Lockout/Tagout (LOTO) requirements are crucial during pump maintenance. These procedures ensure energy sources are properly isolated before work begins, preventing serious accidents. Technicians must close the air valve to the pump and use the air bleed down valve to relieve air pressure. They relieve fluid pressure by holding a grounded metal pail in contact with the fluid dispense valve and slowly opening it. With a container ready, they open the drain valve. It is good practice to leave the drain valve open until dispensing fluid again. To prevent static electricity hazards, ensure proper grounding for the air compressor, air hoses, fluid container, pump, fluid hoses, dispensing valve, dispensing point, and solvent containers. Always check chemical manufacturer’s data sheets for fluid and solvent compatibility. Regularly inspect hoses for wear and never exceed the maximum working pressure of any component. Be aware of moving parts and use pressure relief procedures to prevent unintentional pump start-ups.
Isolating and Depressurizing the Pump
Before technicians can replace mechanical seal components, they must safely isolate and depressurize the pump. OSHA standard 1910.147 mandates employers establish an energy control program. This program ensures that before any servicing, the machine is isolated from its energy source and rendered inoperative. Technicians identify all energy sources, including electrical power and stored hydraulic pressure. They isolate these sources by disconnecting power supplies or bleeding hydraulic lines. They then apply physical locks to controls like power switches and valves to prevent reactivation. Tags are attached to each lock, providing warnings and details. Technicians verify the machinery is fully de-energized by testing equipment and confirming isolation before starting work. After locking out energy-isolating devices, they deplete all residual energy from the equipment, such as from capacitors or springs. They stop the pump, relieve system pressure, and drain the liquid.
Step-by-Step Guide to Replace Mechanical Seal
Disassembling the Pump and Removing the Old Seal
Technicians begin the mechanical seal replacement process by carefully disassembling the pump. They remove external components to gain access to the seal chamber. When removing the old seal, especially if it is seized or damaged, technicians employ specific techniques to prevent damage to other pump parts. They utilize jacking bolts or pry grooves on the seal flange, carefully backing the seal out of its chamber. If two jacking holes exist, technicians insert bolts and turn them simultaneously or in alternating steps. For stubborn seals, two technicians can use pry bars, positioned 180 degrees apart, to simultaneously pry the seal. Technicians loosen and back out set screws in the sleeve drive collar sufficiently to prevent scratching the shaft during seal removal. For heavy seals, they use a threaded hole for an eye bolt with a chainfall or crane to support the seal's weight. This allows the seal to slide down the shaft without cocking or slamming. In extreme cases, where service damage or fouling prevents cartridge removal, technicians disassemble the seal component-by-component, ideally with a seal manufacturer's representative present.
Technicians must avoid several common mistakes during this stage. They do not strike the flange with a hammer to free it from the seal chamber. They also refrain from using an impact wrench to remove seal chamber bolts. Technicians never use a mallet to hammer the seal down the shaft. They prevent the seal from slamming onto the workbench or pump bearing frame after it passes the end of the shaft. Technicians ensure they remove any burrs or sharp edges on the shaft, especially from cup point set screw marks, before installing a replacement seal. This prevents damage to the new seal's O-ring or piloting surfaces. Technicians do not use brute force to remove a seal stuck due to dried process fluid; instead, they leverage knowledge of the residue's properties to break it up. They avoid cocking the seal flange severely by prying from only one side, using only one jacking bolt, or not supporting the flange's weight, as this can cause contact damage between rotating and stationary parts.
Inspecting and Cleaning Pump Components
After removing the old seal, technicians thoroughly inspect all pump components for wear or damage. They check the shaft sleeve, seal chamber, seal faces, and elastomers for any signs of deterioration. Technicians also look for rotor vibration, excessive shaft end play (axial movement), and poor machining accuracy of the pump shaft and shaft sleeve. Identifying and addressing these issues at this stage prevents premature failure of the new seal.
Cleaning is a critical step before installing the new seal. Technicians use appropriate cleaning supplies, including solvents, brushes, and clean, lint-free rags, to thoroughly clean the pump. They remove any debris, old sealant, or residue from the pump shaft and sealing surfaces. This ensures a smooth, contaminant-free surface for the new seal. Technicians use cleaning solvents to remove dirt and old gasket material, ensuring all surfaces are pristine. They employ appropriate cleaning tools to achieve a smooth, contaminant-free surface.
Installing the New Mechanical Seal
Proper installation is crucial when technicians replace mechanical seal units. Technicians first ensure the work area is clean to prevent contamination. They inspect the new seal for defects and verify it meets the correct specifications. Technicians apply a thin layer of compatible lubricant to the shaft or sleeve. This eases installation and prevents damage to O-rings or rubber bellows. They then carefully slide the seal assembly onto the shaft, ensuring correct orientation and positioning according to manufacturer specifications. Technicians handle the seal faces with extreme care to avoid scratches. They never force the seal into place; if it does not fit easily, they recheck measurements.
Technicians must avoid several common mistakes during installation. They prevent dirt or oil from hands on seal faces, as this causes premature failure due to wear and leakage. Technicians unpack the seal only when ready, wash their hands, and avoid touching lapped seal faces. They use clean tissue on the workbench and avoid setting the seal on its face. Technicians clean faces with soft tissue and approved solvent. They also avoid uneven or over-tightening of fasteners, which distorts seal components and causes leaks. If a seal leaks, loosening the fasteners slightly may correct the problem rather than tightening them further. Technicians do not install the seal on a misaligned pump, as misalignment stresses seal components, leading to premature wear and failure. They always follow the specific seal manufacturer's instructions, as mechanical seals are delicate and require adherence to guidelines. Failing to remove spacers, for instance, can damage internal components.
Reassembling the Pump and Ensuring Alignment
After installing the new mechanical seal, technicians carefully reassemble the pump. They ensure proper alignment and seating of all components. Technicians tighten fasteners to specified torque, often in a crisscross pattern, to prevent distortion and leakage. They manually rotate the shaft to check for smooth movement.
Ensuring proper shaft and coupling alignment is paramount for extended seal life and pump performance. Technicians use precision alignment techniques. Laser alignment is considered the most effective method; a laser clamps on one shaft and a mirror on the other. Both shafts rotate, and an inbuilt computer calculates necessary adjustments. Dial indicators offer another method, clamping onto the motor shaft with its pin running on the pump coupling. Rotating the motor reveals high and low areas, indicating misalignment. The straight edge and feeler gauge method is the least effective, primarily used for quick checks.
Technicians perform preliminary checks, inspecting for issues like loose bolts or worn components. They then use dial indicators or laser tools to measure current angular and parallel offsets. They calculate corrections and adjust equipment by moving machine feet or baseplates. Technicians always recheck alignment after making adjustments, as tightening bolts can cause shifts. They document measurements and corrections for future reference. Technicians check for "soft foot" before shaft alignment, ensuring all feet of the pump or motor sit evenly on the baseplate. They account for thermal expansion in systems exposed to significant temperature changes. Technicians ensure pipework is installed and tightened before alignment, as it can cause pump movement. They remove or loosen jacking bolts after alignment. For pumps running with hot fluid, technicians re-align immediately after operation to account for thermal growth.
Post-Replacement Procedures and Troubleshooting for Mechanical Seals
Initial Pump Startup and Leak Checks
After technicians replace mechanical seal units, they must perform initial startup procedures carefully. Before starting the motor, technicians turn the pump by hand. This ensures free movement. They never run a pump dry, even for a few seconds, as this damages the mechanical seal. A proper startup sequence involves several critical steps:
- Read and understand the instruction manual and local facility operating procedures.
- Ensure the pump is primed, vented, and full of liquid.
- Fully open the suction valve.
- Adjust the discharge valve as required by specific factors.
- Verify proper lubrication for both pump and driver bearings.
- Properly adjust and set the pump packing or mechanical seal.
- Accurately align the driver to the pump.
- Complete a full system lineup procedure, including valve positions.
- Obtain permission to start the pump, addressing lock out/tag out procedures.
- Start the pump, then fully open the discharge valve.
- Observe the discharge pressure gauge and flow meter for correct readings.
Technicians must vent the pump and specifically the seal chamber. For tandem or double seals, they ensure the outboard seal chamber is also liquid full. This prevents dry running and seal damage.
Addressing Common Post-Installation Issues
Even with careful installation, issues can arise. Common causes of leaks or failures immediately after installation include:
- Incorrect installation: This creates imbalances or excessive pressure, leading to premature wear.
- Inadequate operating conditions: Changes in temperature, pressure, or rotational speed beyond limits compromise seal integrity.
- Insufficient lubrication: This increases friction and accelerates wear.
- Contamination: Solid particles or impurities damage seal surfaces.
- Vibration and misalignment: These create excessive stress on mechanical seals.
Troubleshooting common issues like overheating or excessive vibration requires specific steps. For overheating problems, technicians:
- Monitor the temperature.
- Inspect airflow and clean blocked vents.
- Reduce the load on the motor.
- Check lubrication and add oil if needed.
- Perform natural frequency testing.
- Verify electrical connections.
For excessive vibration, technicians:
- Check for faulty or loose parts.
- Ensure the appliance is level and secure.
- Remove shipping bolts if present.
- Inspect for an unbalanced load.
- Check for worn-out or damaged shock absorbers.
Best Practices for Extended Seal Life
Several operational practices contribute to extending the service life of mechanical seals. Proper installation, including alignment and appropriate lubrication, prevents premature wear. Avoiding dry running ensures seal faces remain lubricated, preventing heat buildup and cracking. Monitoring systems alert operators to insufficient lubrication. Minimizing excessive vibration by operating pumps within their Best Efficiency Point (BEP) prevents damage to the impeller, shaft, and mechanical seal. Correct lubrication, using the right cooling fluid between seal faces, minimizes friction and wear.
Predictive maintenance involves real-time monitoring and data analysis to anticipate maintenance needs. This prevents unexpected downtime and extends seal lifespan. Sensing and monitoring technologies include temperature, pressure, vibration, and leakage sensors. Condition monitoring practices include visual inspections and performance testing. Technicians check for leakage, wear, scoring, and shaft damage. They also inspect O-rings and gaskets for hardening or cracking.
Effective mechanical seal replacement requires meticulous attention to detail. Precise installation is crucial. Cartridge seals simplify this process, minimizing errors. This directly impacts pump efficiency and ensures optimal pump performance. Continuous improvement in maintenance practices further enhances reliability.
FAQ
What causes most mechanical seal failures?
Improper installation causes most mechanical seal failures. Misalignment, incorrect torque, or contamination during assembly significantly reduce seal life. Operating conditions outside design limits also contribute to early failure.
Why is precise installation critical for new mechanical seals?
Precise installation ensures optimal performance and extends seal life. Correct alignment and proper torque prevent premature wear and leakage. It also maintains pump efficiency and reliability.
How does predictive maintenance benefit mechanical seals?
Predictive maintenance identifies potential issues before failure occurs. It uses real-time monitoring to anticipate maintenance needs. This approach prevents unexpected downtime and extends the operational lifespan of seals.